If you have any tips/tricks you perform on your cars please send them to scott@mayako.com and share in the Discord.
¶ Shim up your servos
If needed you can shim up your servo with the following 3D printed shims:
throttleservo-shim-1mm.stl
throttleservo-shim-2mm.stl
throttleservo-shim-3mm.stl
Please note: because of the stress/load these shims are under print them in the highest density possible. Preferably 100%
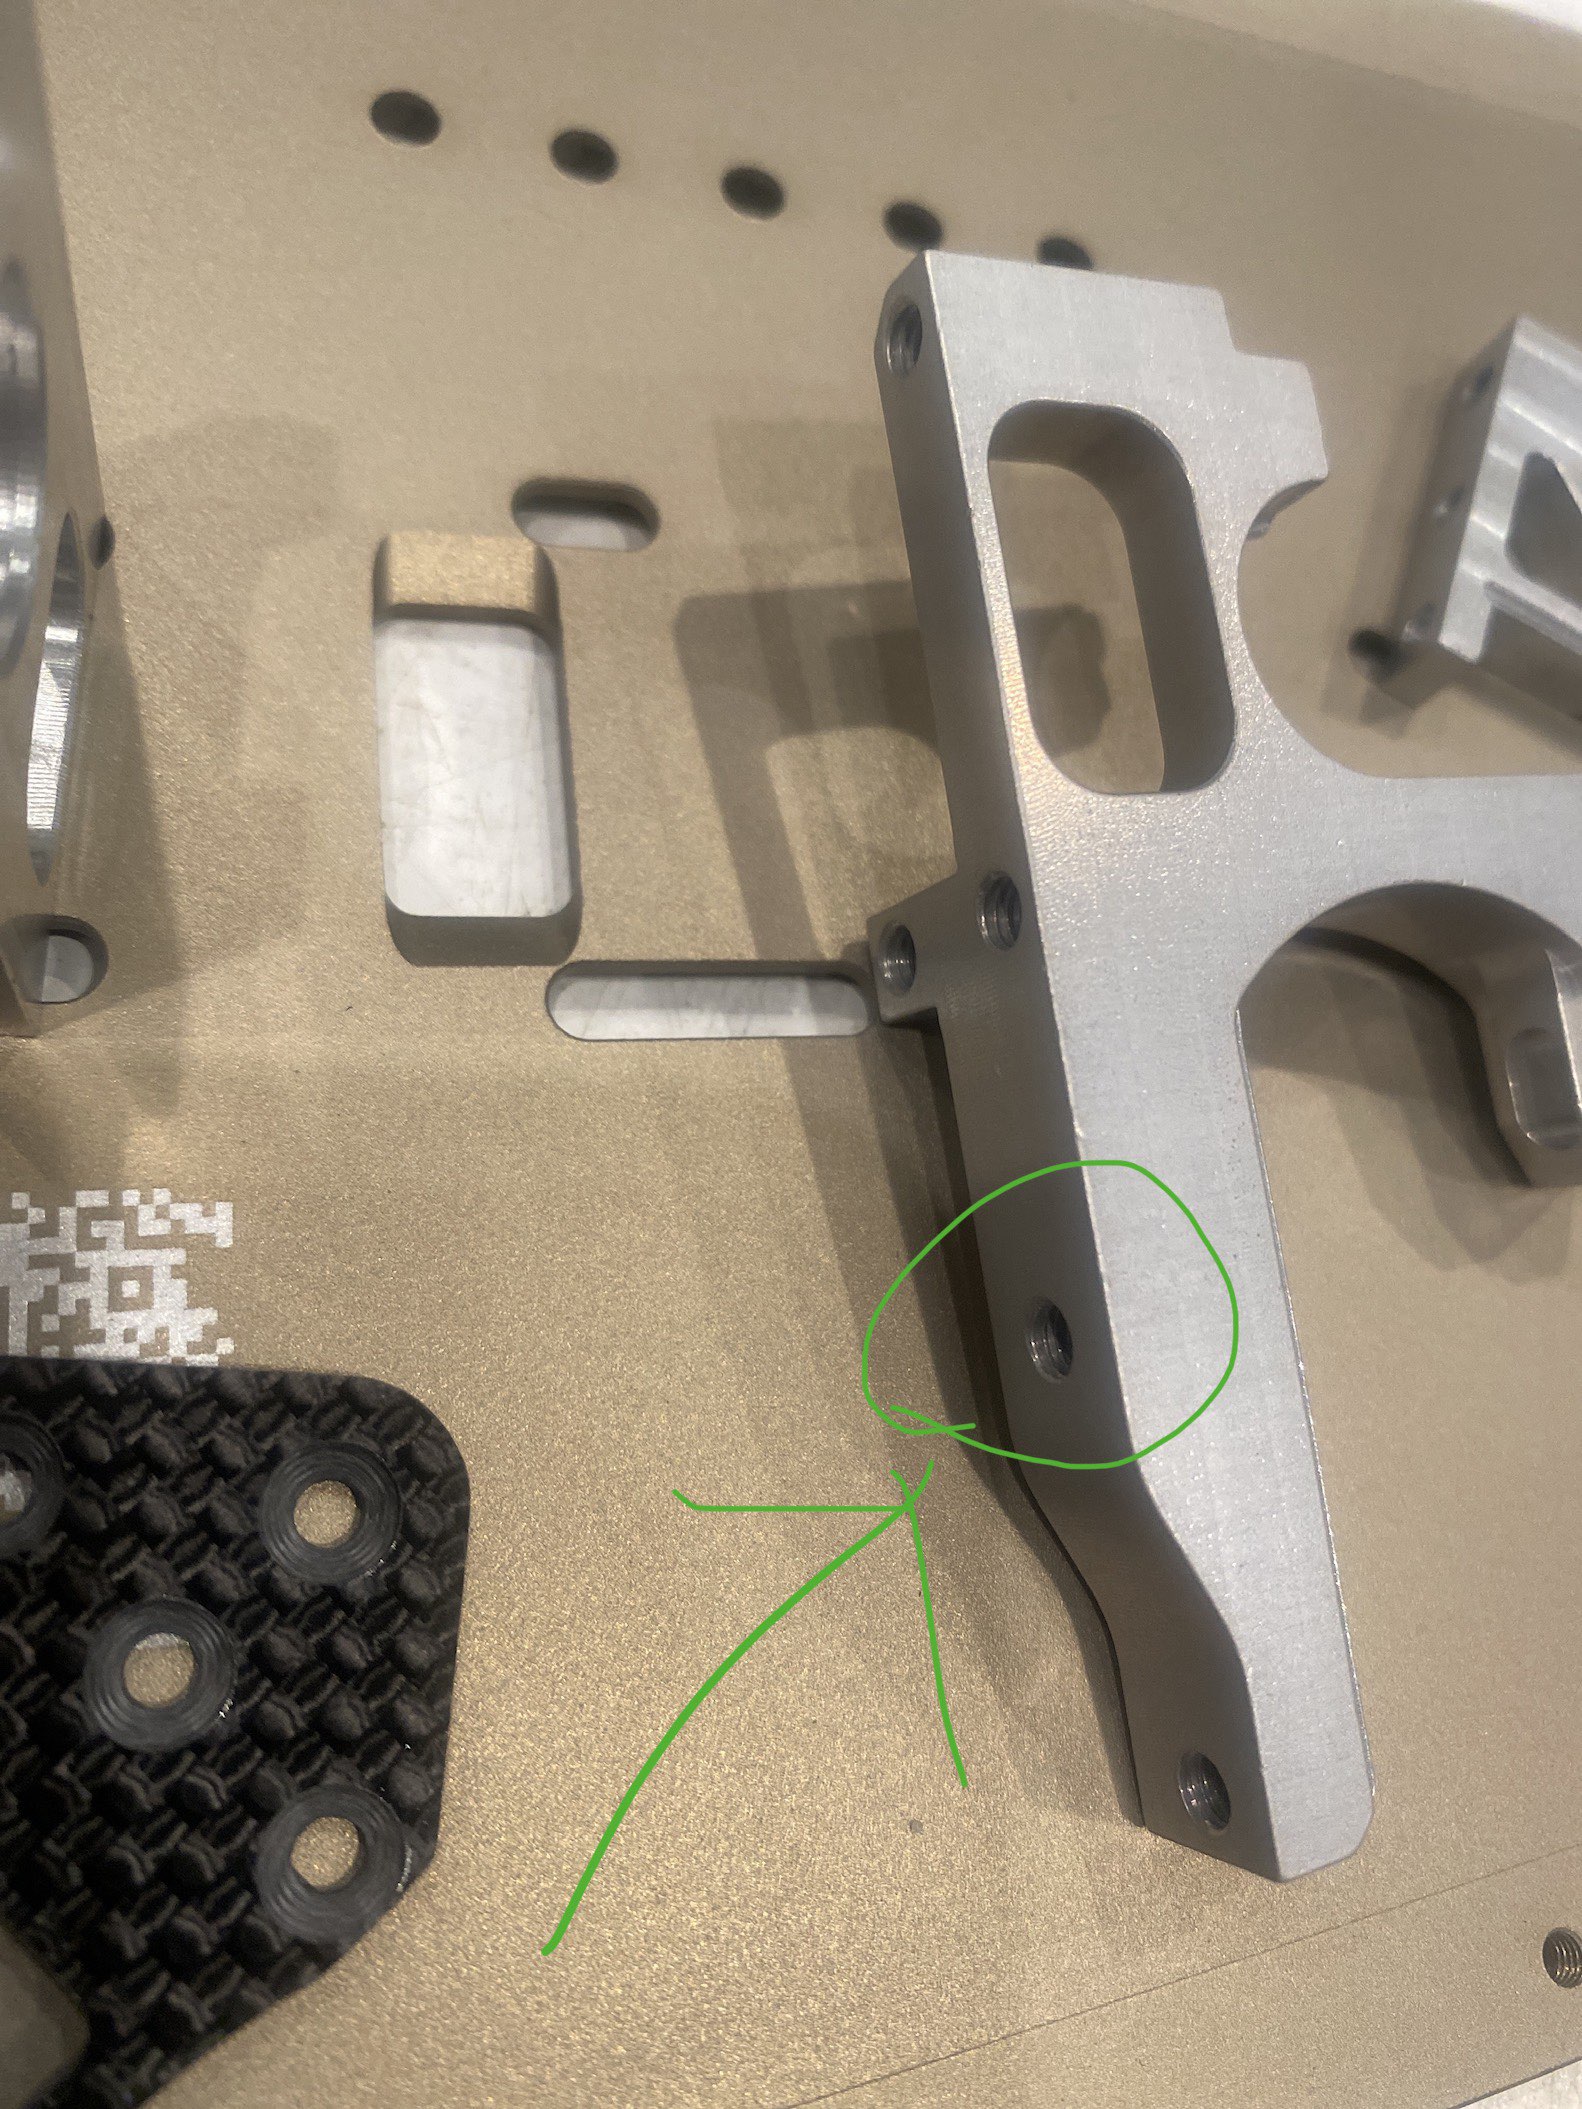
¶ Side guard trimming
To get the best mounting position for your steering servo it is required that you trim the sideguard to match the cutout in the chassis (see picture).
¶ Top plates
With the MX8E Proto kit are two different types of topplates provided. One black and one silver (see photo below). It is reccomended to use the silver plate because the hole for the chassis brace is further out to help clear the ackermann from the mounting point for the chassis brace. The silver top plate also fits best with the orange HB chassis brace (part no. HB-204577).
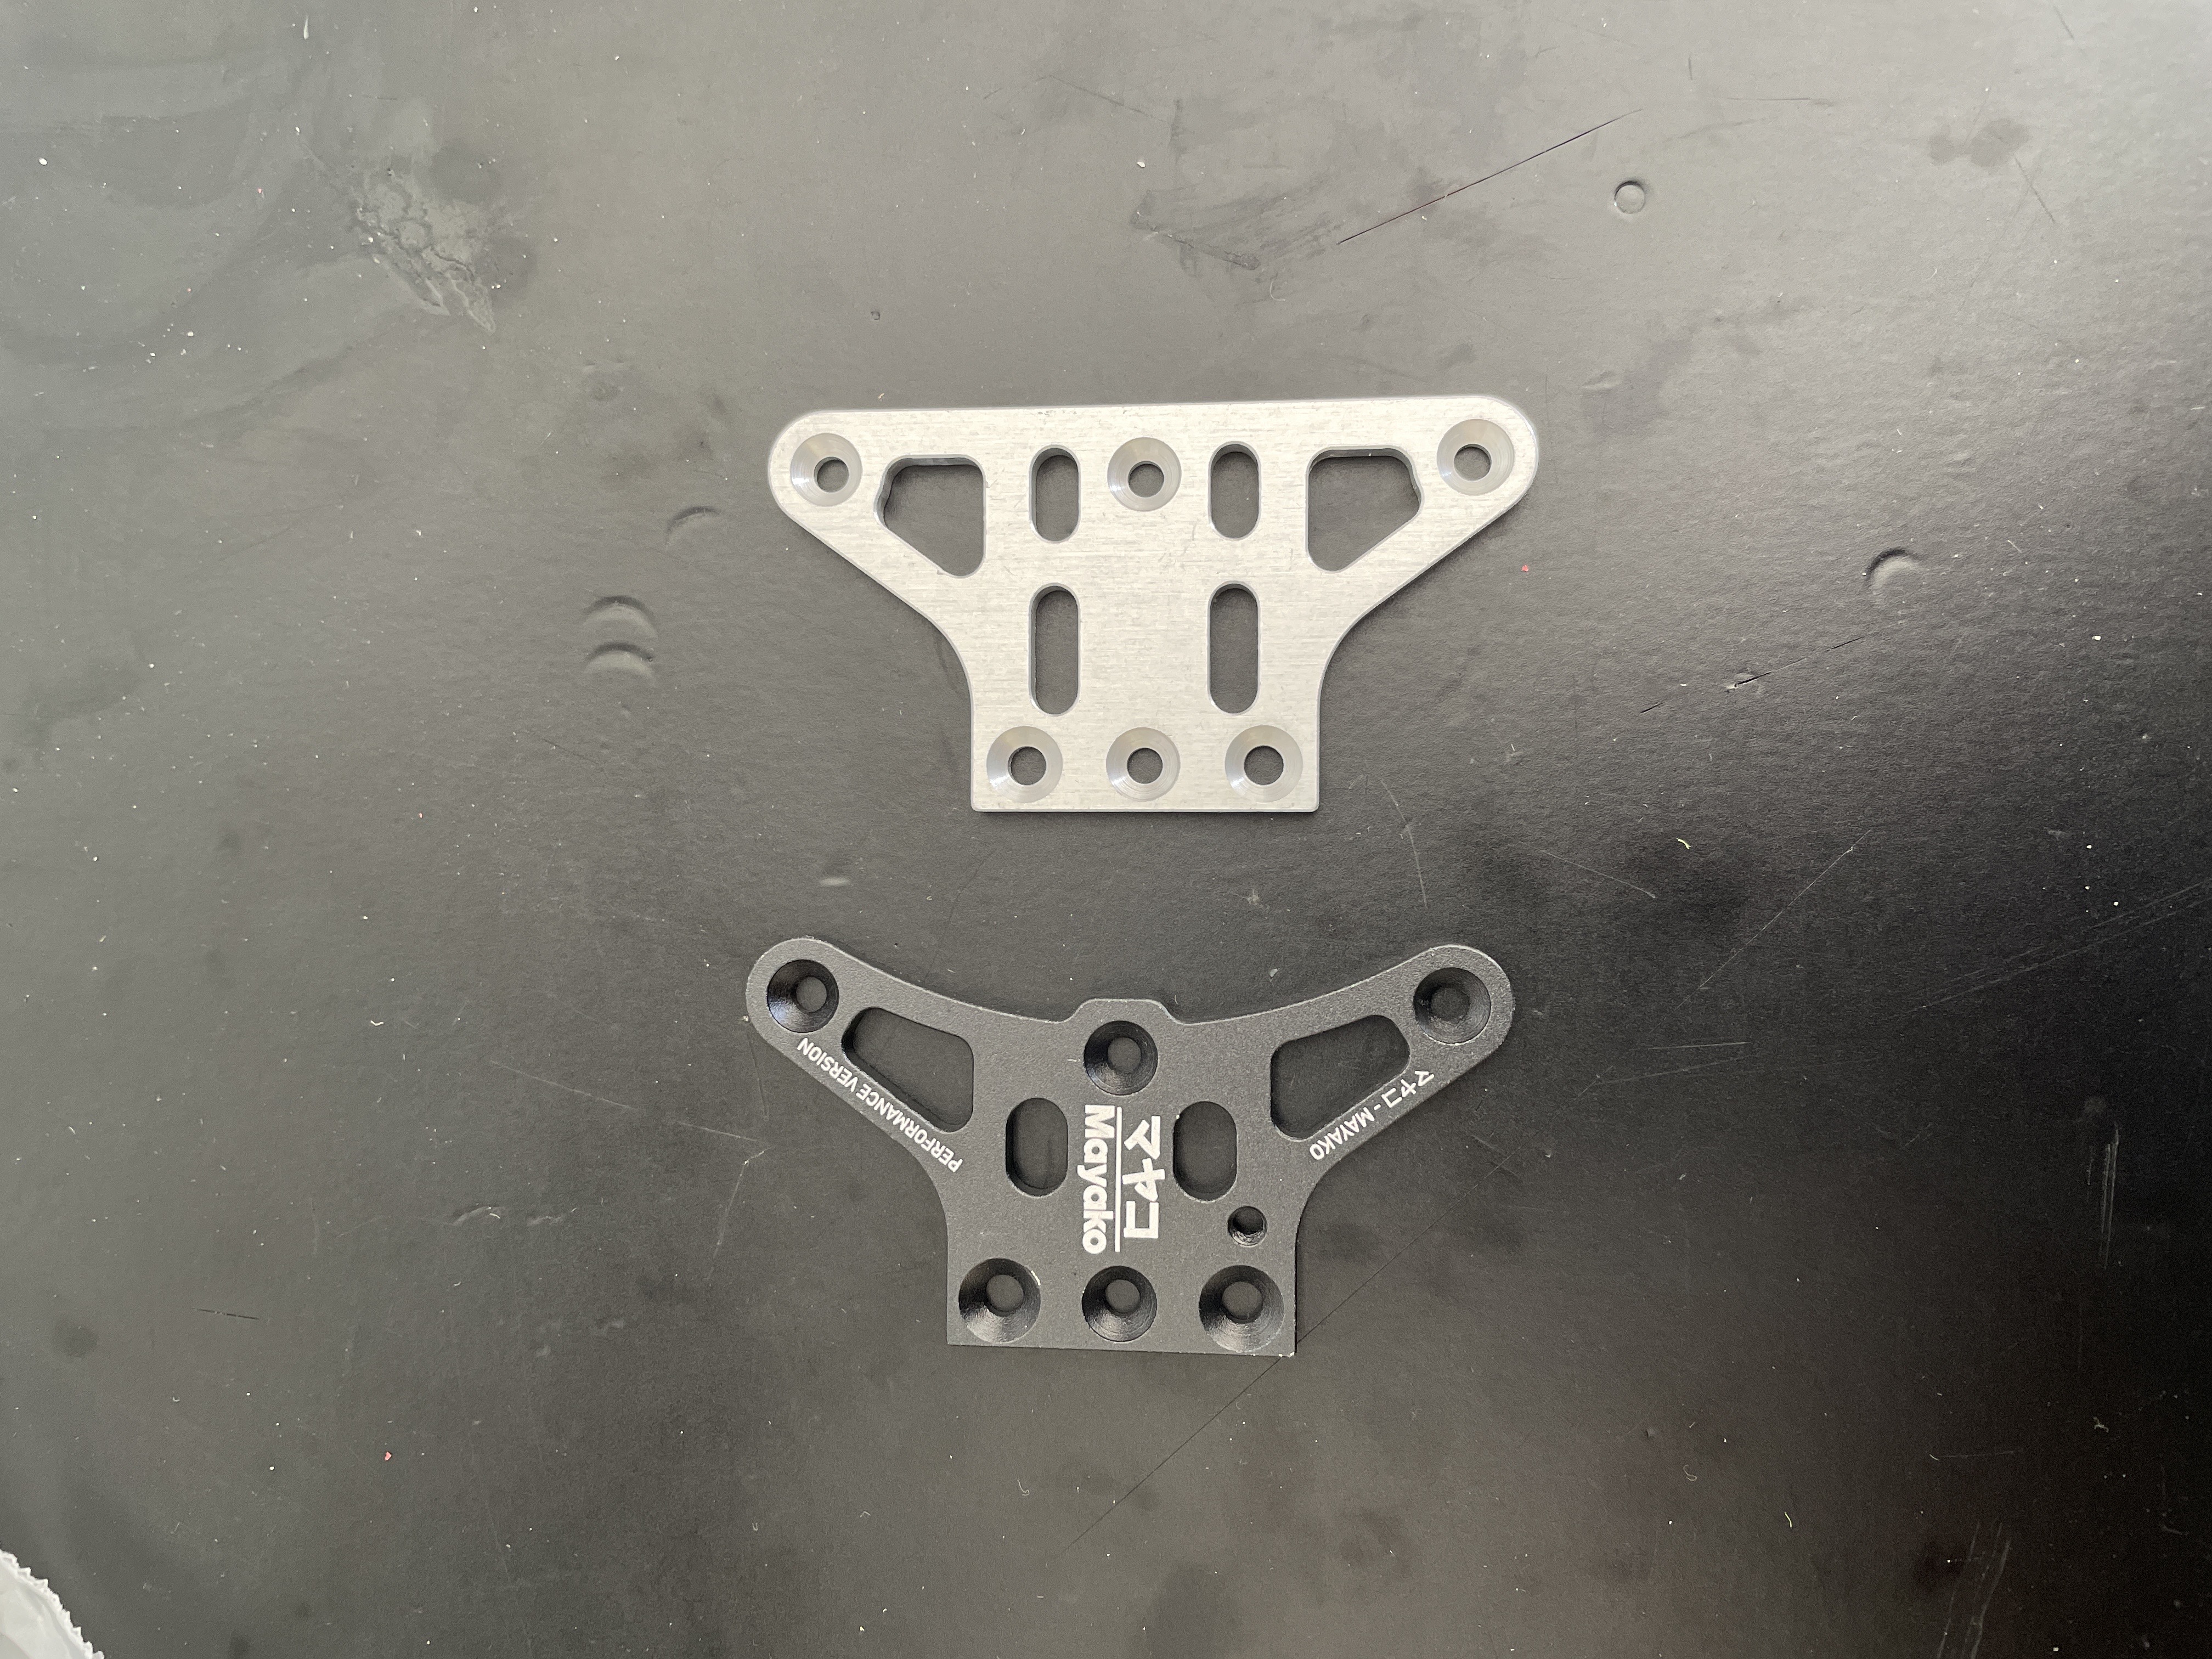
Note: The MX8E is not currently designed to run upper front arms.
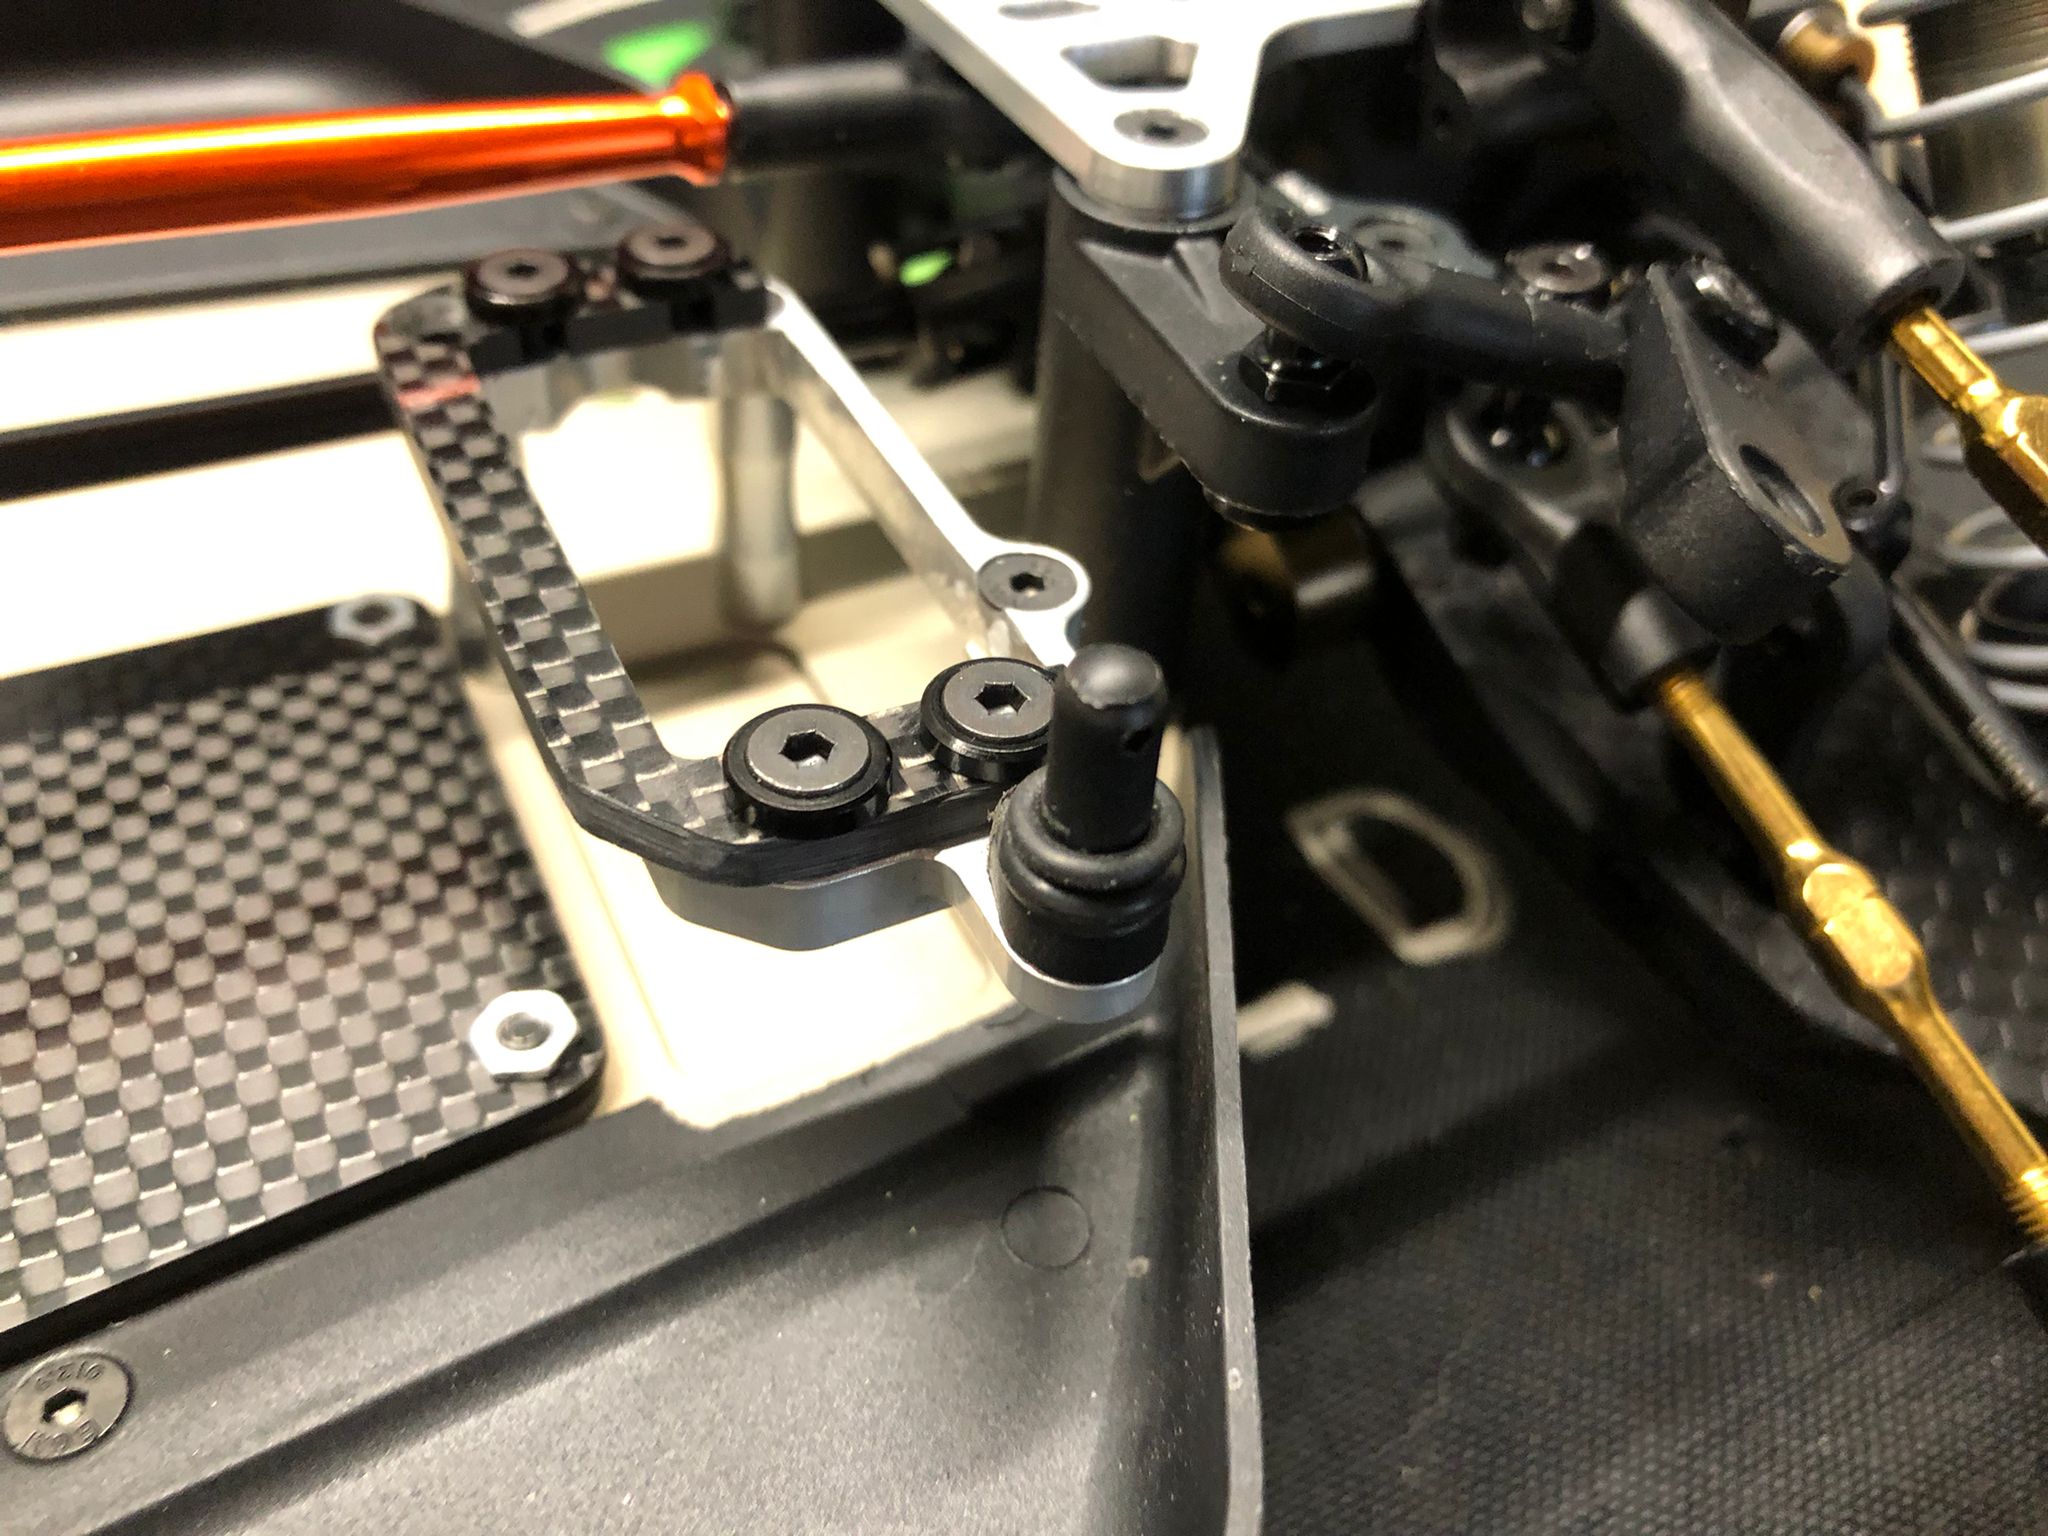
¶ Securing the chassis brace to the top plate
There are two main ways to mount the HB chassis brace to the top plate.
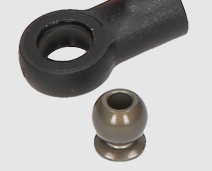
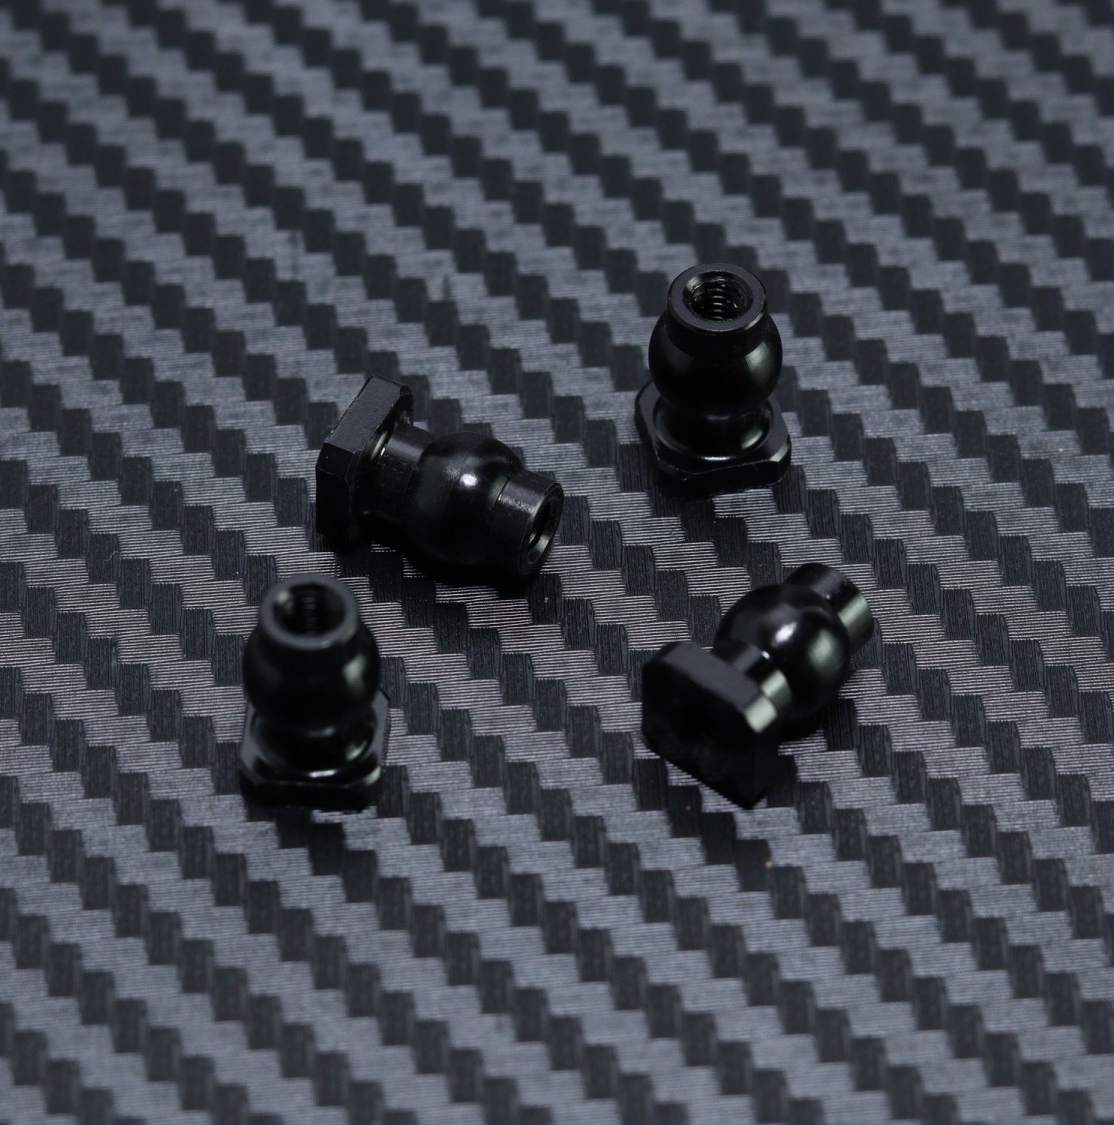
When using the silver top plate you can either use the provided ball that comes with the chassis brace (see picture) or go with the Mayako threaded ball (see picture). When using the non-threaded ball you need to use a slightly longer screw and put a nut on the end.
Note: When using the black top plate you must use the non threaded ball and use a nut.
¶ Chassis brace shimming
Depending on which top plate you are using (black or silver) you need to unscrew the plastic ends on the chassis brace to match the length between the screw holes. Put shims in between the plastic end and the chassis brace to fill up the gap created by unscrewing.
¶ Extra hole on motor mount
There is an extra hole in the motor mount. This hole is not used for the ebuggy. It's not a build issue.
¶ Front arm modification for Procircuit wheels
Procircuit V2 wheel internal webbing has been seen to rub on the back of the front arms. To mitigate this Rob Cockcroft came up with a simple mod to achieve full lock.
First recess the arm (blue line) until the head of the hingepin is flush with the arm (roughly 1mm)
Second, create a 45deg chamfer (orange line) on the arm and hingepin head. Note that the hinepin will then have an orientaion.
¶ Upper rear arm position with 1.5 toe in
When running the 1.5 toe in C and D block with the rear hubs in the center you will need to move the upper arms 1mm forward to get the link to slide in the hub freely.
¶ Easy pill insert removal
Back in the day when Joseph designed the JQRacing Black Edition he developed a way to easyily remove the pill inserts in the ABCD blocks. This method can also be used in the Mayako MX8.
Link to the video: https://www.youtube.com/watch?v=J8r7qj02MtA
¶ Re-seat loose knuckle bushing
Rob Cockcroft said: When your knuckle bushing are loose and coming out, using a ziplock bag is a quick and easy way to get them to fit tightly again.
Put a piece of ziplock bag over the hole and push the bushing in again. After that trim off the exess.
¶ 94mm rear driveshafts
To run the 94mm rear universal driveshafts you need to get some extra parts:
- 13x19x4 bearings
- Extra myb0048 rear crush washer. Run double